Packing Custom Content using VIDE in SteamPipe
This has been a rather popular request ever since SteamPipe broke most map packers. Lucky for us, VIDE is still going strong. So today I’ll be going over how to pack a level post SteamPipe using VIDE.
- Head over and grab the latest copy of VIDE from here: https://www.tophattwaffle.com/downloads/vide/
- Extract the files, then load VIDE.exe
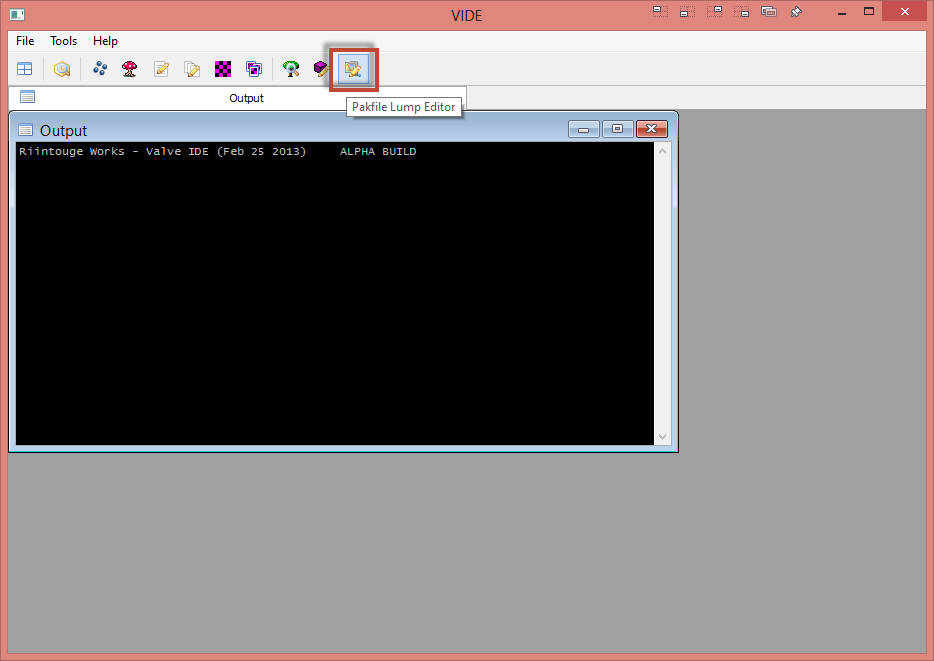
- Once in VIDE, open the Pak Lump Editor
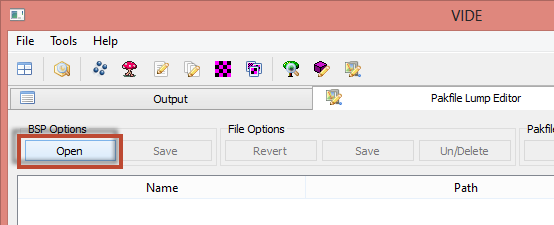
- Click Open
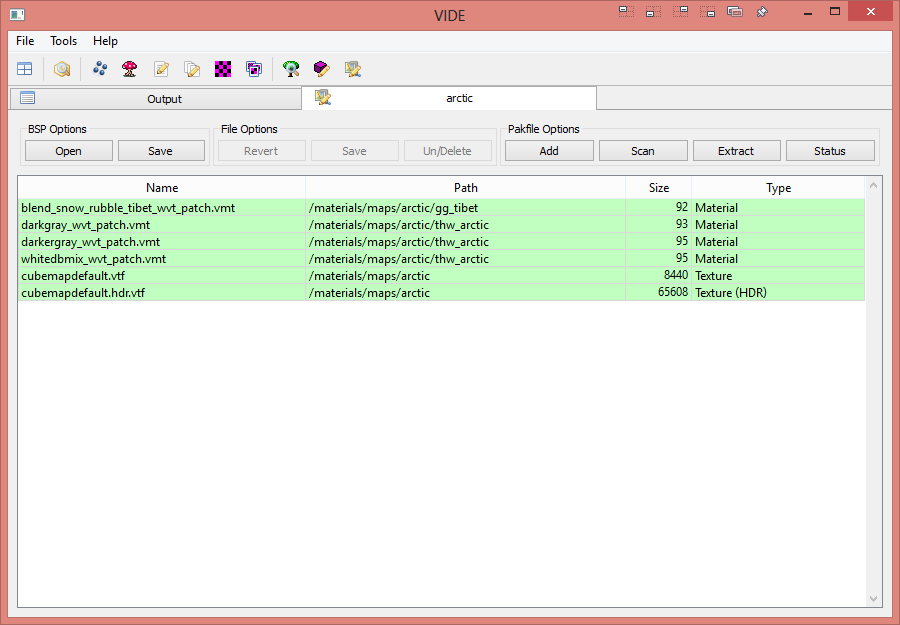
- Select your level. I’ll be using a CSGO level.
- Once the level loads, you should see some of the content that is already in the level. Some patch files, and the default cubemaps
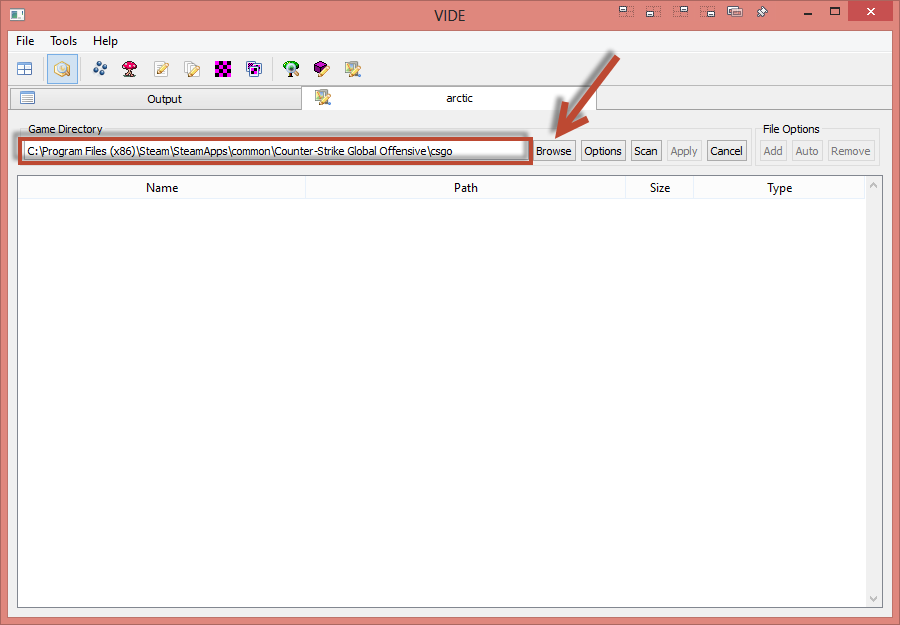
- Click Scan

- Set the Game Directory by clicking Browse. Set the root folder for your game. The path in the screenshots is for CSGO.
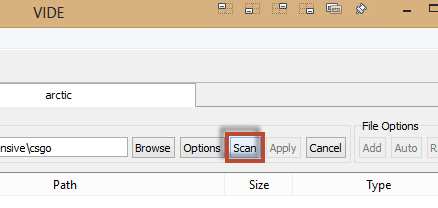
- Click Scan to have VIDE scan for files to be packed.
- VIDE will now display all the content to be packed in Orange. Content in the VPKs are in red.
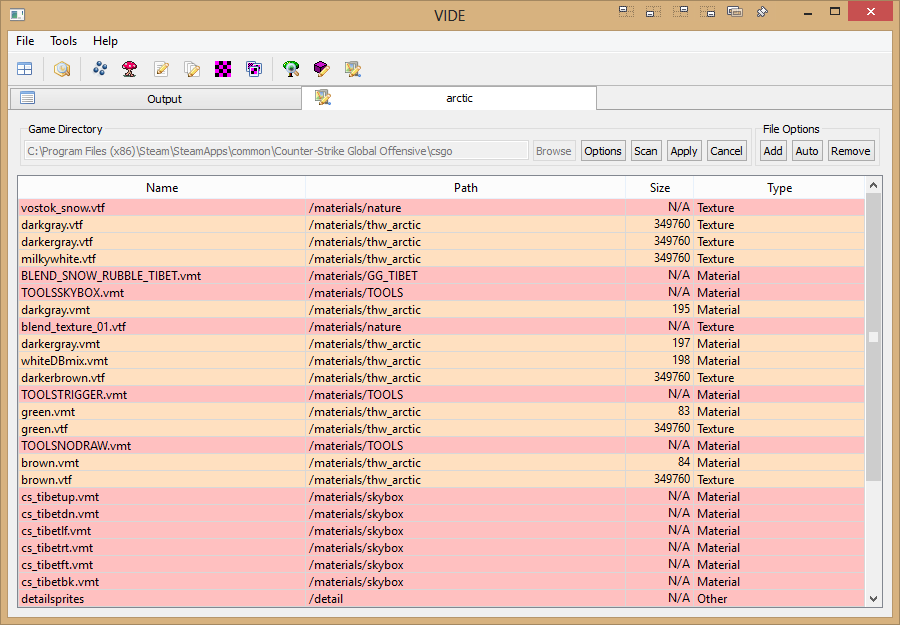
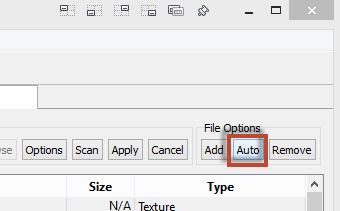
- Click Auto to have VIDE automatically add all of your content.
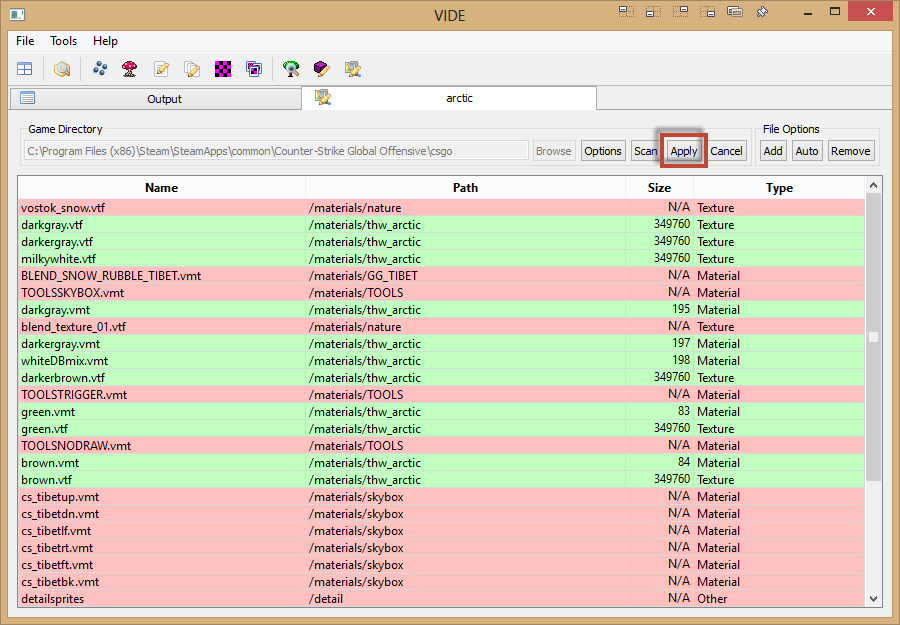
- The content that VIDE has packed with turn green. Click Apply.
- VIDE will now display all the content that is in the BSP. Content in Green is currently saved to the BSP file. Content in Yellow is TO BE saved. Click Save to have VIDE add the content to the BSP.
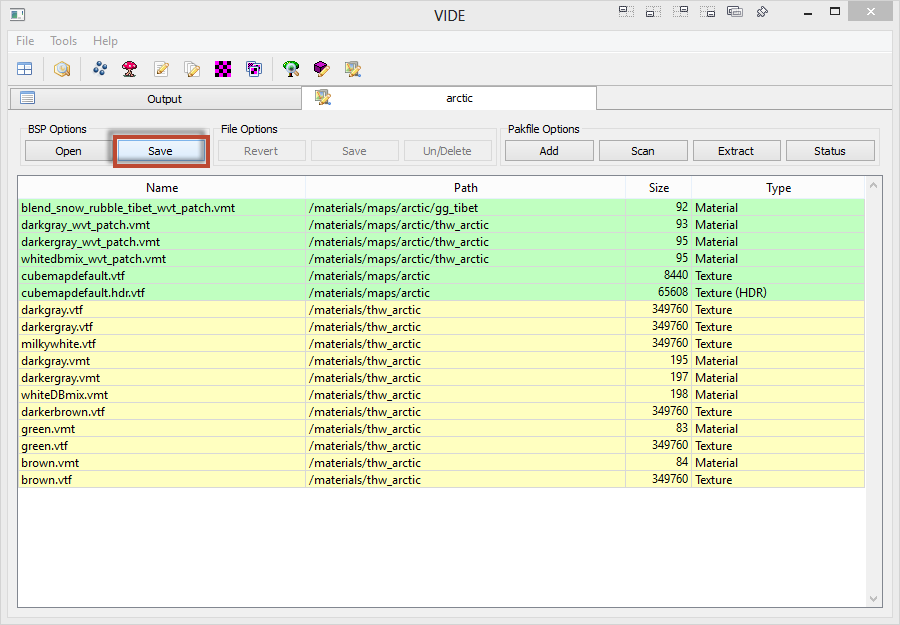
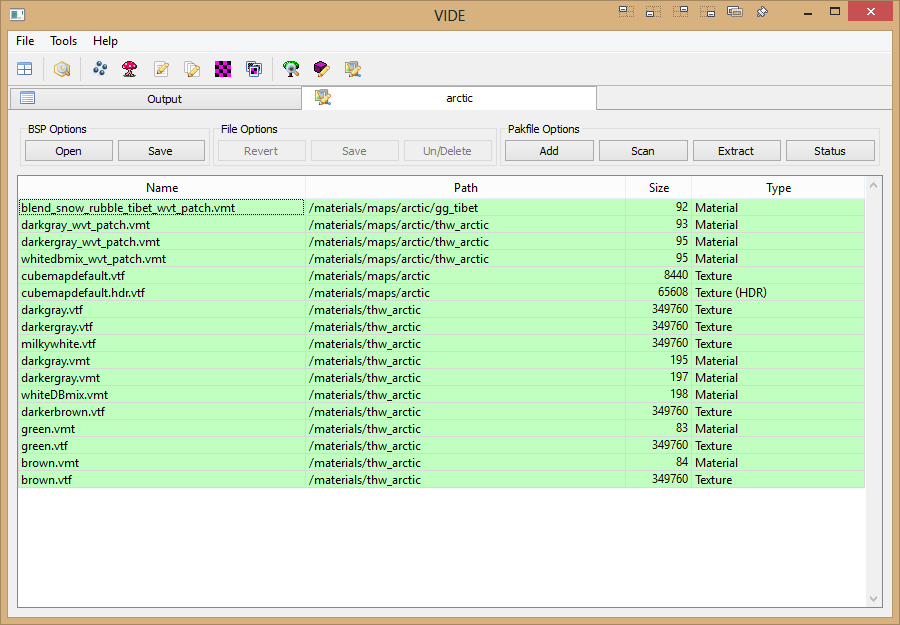
- Once saved, all the content should turn Green.
- Lastly let’s verify that the BSP has grown due to our custom content. Browse to your game’s map folder and look for your level. You’ll notice that there is now a MAPNAME.BSP and MAPNAME.BSP.BACKUP. The BSP.BACKUP file is a backup of the BSP before the map was packed using VIDE. You should see a file size difference. between the BSP and the BSP.BACKUP

Manually Packing Content in VIDE
Sometimes, for one reason or another, VIDE will miss content. This is most likely due to the games updating, and the tools not being updated. Never fear, we can always manually pack our content into the BSP with VIDE as well.
- Open your map in VIDE’s Pak Lump Editor just like before. We can see all the custom content that VIDE has added in the auto scan. But I know for a fact that it has missed my custom soundscape files, as well as some textures. Finding what content the auto scan misses is something that you’ll come to just learn with time. The best way is to test the level on a fresh install of the game (an install without any of your custom content) and see what is broken. Then just pack the files that will fix said broken things.
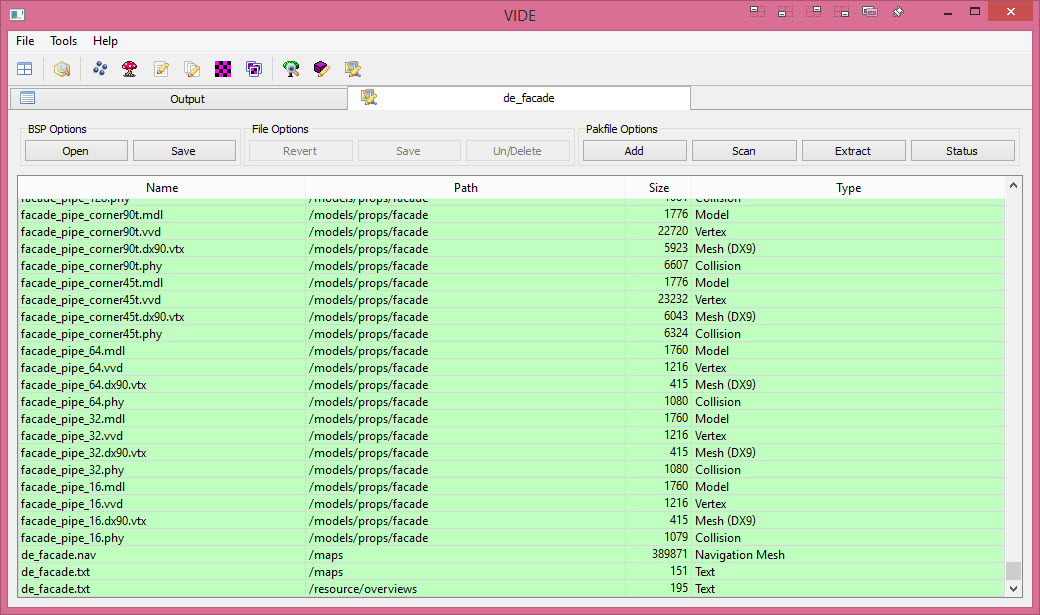
- Start by click Add
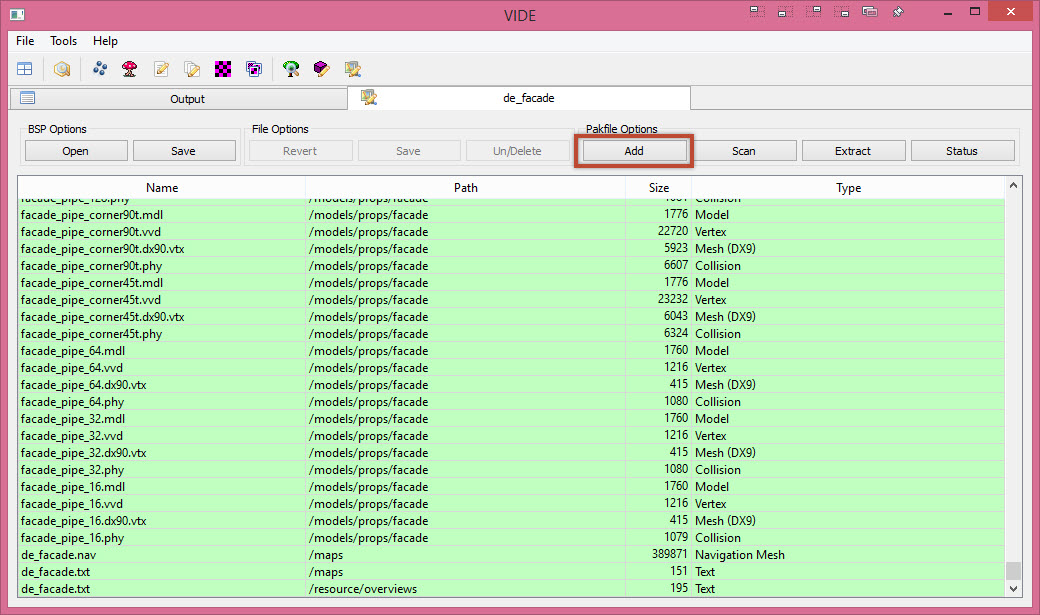
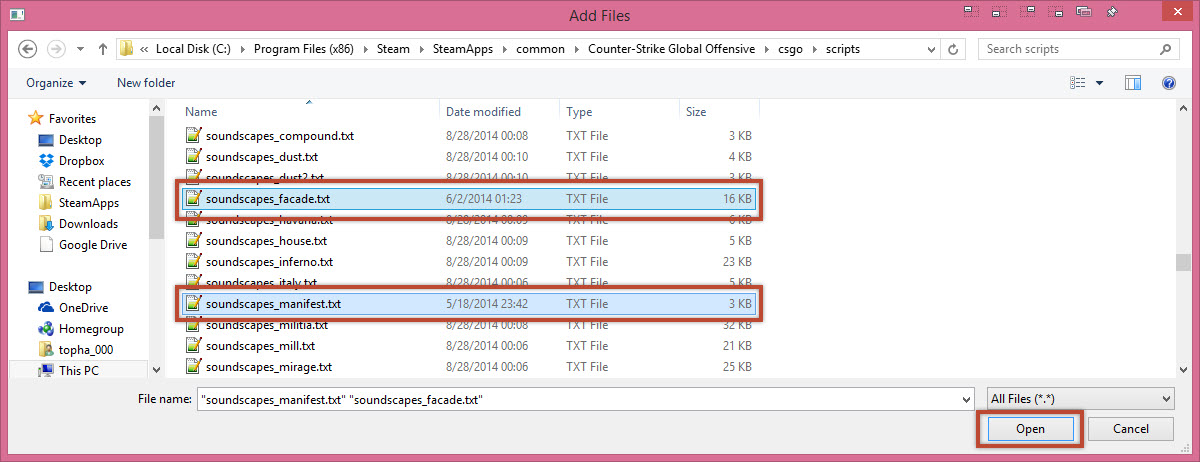
- Browse and select the files that it missed, and click Open
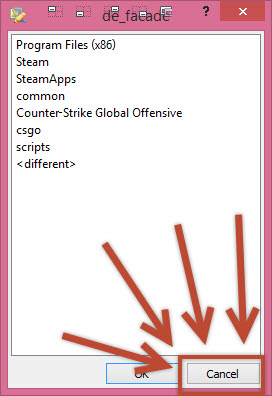
- Now this is where VIDE completely confuses me, and I question the developer’s choice here… This window will show all of the folder paths to your files. If you click and select one, it will pack it into an incorrect folder inside the PakLump. (It’ll pack it in something like: go/scripts, or /ts I have NO idea why…) Just click cancel…
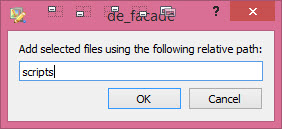
- Now you’ll get that option to manually specify a folder path. In my case it would be “scripts“. Then click OK. Remember that you’re always packing from the root game folder. (csgo in my case)
- We now see our manually packed content in the right folders. Just repeat this process for all missing content. Be sure to specify the correct folder path when you need to.
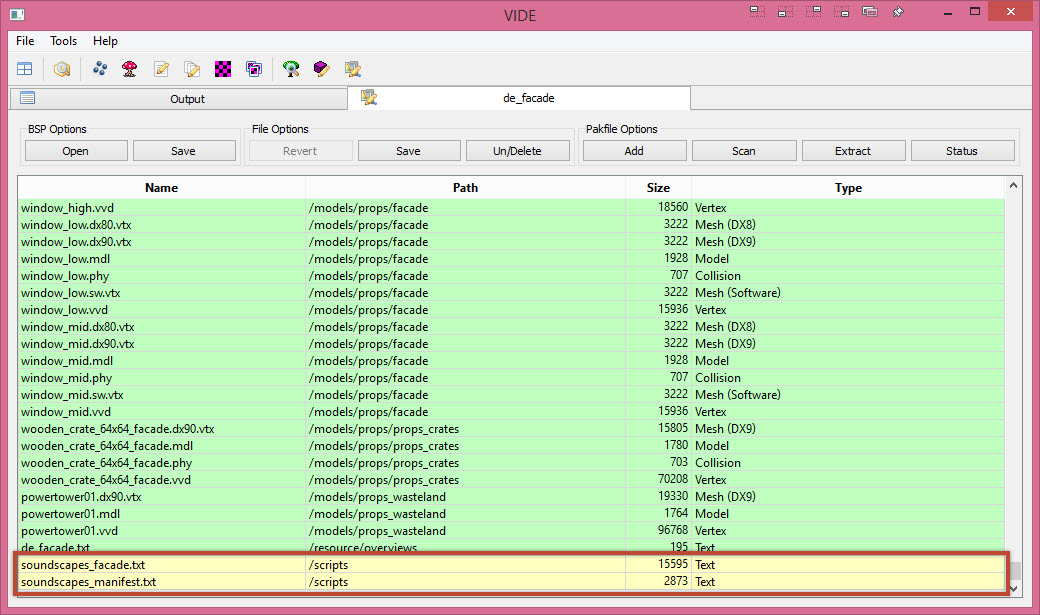
- Click Save under BSP Options and then test your level one last time for missing content. Always remember to test before shipping. After you test, release your work of art to the world!!!
Well, that’s gonna wrap it up for today. I hope this will put to rest the many questions on how to pack levels with custom content in a post SteamPipe world.
Happy Mapping!
